
|
|
|
||||||||
|
|
|||||||||
| Home | Forums | Register | Gallery | FAQ | Calendar |
| Retailers | Community | News/Info | International Retailers | IRC | Today's Posts |
 |
|
|
Thread Tools |
|
|
#1 |
|
hi
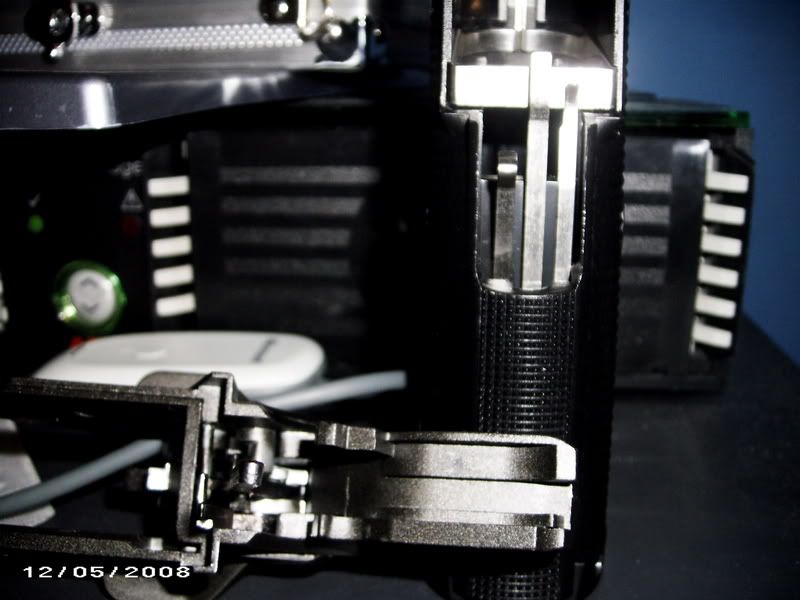
well i got board and decided to try and take my hi capa apart and then i put it back together but to my demise i cant figure out how to do it mainly the pistol grip with all the little metal things and the frame and what not --hears a pic so if any body can shine some lite on my problem that would be grate thanks  
|
|
|
|

|
|
|
#2 |
|
GBB Whisperer
|
1. Remove the main spring housing
2. Take the leaf spring out 3. Reinstall your mid-frame 4. Install beavertail safety, safety lever, etc 5. Install leaf spring - make sure all prongs push TOWARDS the muzzle. Nothing should be on "top" of the prongs. 6. Reattach main spring housing |
|
|

|
|
|
#3 |
|
i had a feeling you would post to help me :P
THANKS 
|
|
|
|

|
|
|
#4 |
|
have fun i tried bout 15times to get the back saftey to work...i finally got it on the 16th time...
|
|
|
|

|
|
|
#5 |
|
If you take the main spring housing off along with the leaf spring before mating the frame and grip, it's actually a very simple procedure to put it back together correctly. The leaf spring naturally sits on top of the parts it should sit on top of when you put it back in *after* grip and frame have been assembled.
|
|
|
|

|
|
|
#6 |
|
trevorthetwigyalienman
|
I did the same thing but I'm still having a bit of troubles. My hammer just stays forward, One of the tiimes I put it together It would lock back every now and then, and I would have a really heavy trigger pull.
__________________
Age Verifier for PEI (out of town) ...talk to phil, PM for details |
|
|

|
|
|
#7 |
|
Here's a simple explanation—
1. The disconnector goes behind the sear 2. The trigger loop has to be behind those parts when you slap on the grip. 3. The leaf spring just sits on top of those parts, like a layer cake. 4. Install the left side grip safety to hold the beavertail in place while you work. One of the things I thought as a new gun owner is that the leaf spring fingers needed to go over/under in some kind of way. Nope, just lay it flat on. Last edited by safx; June 10th, 2008 at 14:20.. Reason: typo |
|
|
|

|
|
|
#8 |
|
trevorthetwigyalienman
|
Shit, I cant seem to get it to work still, THe hammer just snaps forward, no matter what i do it wont stay back. Does anyone have pics? I've been googling this like crazy and I cant find a damn thing, Any help would be great
__________________
Age Verifier for PEI (out of town) ...talk to phil, PM for details |
|
|

|
|
|
#9 |
|
try this out:
http://www.arniesairsoft.co.uk/forum...=post&id=34184 |
|
|
|

|
|
|
#10 |
|
trevorthetwigyalienman
|
I created an account on arnies, and looked it through, I just took the grip from the lower frame, But it looks as if though I have to take it apart even further to get it back together?
__________________
Age Verifier for PEI (out of town) ...talk to phil, PM for details |
|
|

|
|
|
#11 |
|
Just pull the spring housing off, lay the 3-leaf spring in, grip safety and reattach the housing.
|
|
|
|

|
|
|
#12 |
|
trevorthetwigyalienman
|
FIXED! those pics on arnies helped me out a lot. Thanks guys
__________________
Age Verifier for PEI (out of town) ...talk to phil, PM for details |
|
|

|
|
|
#13 | |
|
Tys
|
Quote:
Worked like a charm last night and it was comforting to have pics as a reference. Tys |
|
|
|

|
|
|
#14 |
|
|

|
|
|
#15 |
|
Tys
|
Thanks bud, but I didn't want to bug you...
 + I hadn't actually taken it apart yet, so it wasn't broke, LOL. I just didn't want to start until I had a good reference to go on. On one of my 5.1's I polished the sear and shortened/polished the main notch on the hammer. The trigger pull is very smooth now. I had to "bend"/strengthen the right most finger of the spring (the one that pushes the little silver wedge up under the sear) as it was sort of sticking after the first reassembly, but the downside is that the trigger pull is a bit heavier (compared by feel to the other stock 5.1). I'll fiddle with it some more. Q. When eliminating trigger overtravel, does the back of the trigger "bottom" out on the body of the mag release? or some other part? |
|
|

|
  |
|
||||||
| Bookmarks |
|
|
 |