
|
|
|
||||||||
|
|
|||||||||
| Home | Forums | Register | Gallery | FAQ | Calendar |
| Retailers | Community | News/Info | International Retailers | IRC | Today's Posts |
 |
|
|
Thread Tools |
|
|
#916 |
|
hey guys
Do the MADBULL Daniel Defense 7.62 Lite Rail 9inch fits on kjw m4 perfectly? or need some custom mods on it? |
|
|
|

|
|
|
#917 | |
|
More then likely. Im using a madbull dragonfire. Does you rail come with the barrel nut and such?
__________________
Quote:

|
||
|
|

|
|
|
#918 | |
|
On another note, I'm having an issue with my kjw as well.
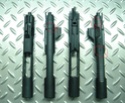
Ive examined my mags and ive narrowed down the problem to them. I actually have two different sets of magazines! Please refer to the attached photo. I have a version 2 kjw, and the mags in the left of the photo with the thinner metal tab system work flawlessly with my kj. The mags on the right with the thicker chunkier tab cause my bolt to completely lock back on empty and the bolt catch gets jammed. I have to manually pull the cocking handle back to get it to unjam. So...is it possible to get new replacement metal tab thingies (sorry I don't know what it is called) or do I need to track down a company that sells that exact type of kjw mag.... which can be hard since everyone lists them as kjw m4 mag....I'm assuming this is a version two mag as it works perfectly.
__________________
Quote:

|
||
|
|

|
|
|
#919 |
 2 Cent Tactical 2 Cent Tactical |
Why not try taking the thick tab out and filing it down?
__________________
|
|
|

|
|
|
#920 |
|
Yep, just take the top appart (Remove the two upper pins on the mag) and you will be able to slide the plastic top off the mag core, then remove the bolt locking piece and shave it down. You could remove the working one too you can compare both when filing.
I use a Madbull Viking Tactiks 13" on mine and it fits perfectly. |
|
|
|

|
|
|
#921 | |
|
Filing is not an option for me.
I do not own power tools and after about 30 minutes of filing it got mayyybe a mm of change...and I have to also file another part of the arm down as well....then I have to do that three more times. Does anyone know what part number it is or anything so I can just get replacements for my old ones?
__________________
Quote:

|
||
|
|

|
|
|
#922 |
|
Looks like part #M6, take a look here:
http://www.airsplat.com/Manuals/GR-KJW-M4-CARB-6.jpg Contact KJW directly via their email address, very kind and fast service. |
|
|
|

|
|
|
#923 |
|
Hum... I just received the Bolt V2, and I can't find a complete takedown guide for the V2 with the search function... Please help ?
|
|
|
|

|
|
|
#924 |
|
1: Take the pin near the rear out using a tiny punch tool.
2: Take the plastic slider off. (Pry gently and slide out) 3: unscrew the tiny screw retaining the 2 nozzle parts. (Hold the 2 pieces, there is a compression spring that will get free while removing the screw) 4: You can now change the valve. If using the Cradle Velocity Reducer, be sure to use the KJW Valve's o-ring, as the CVR one is too big. |
|
|
|

|
|
|
#925 |
|
That was weird... As I was following your instructions and these ones (http://www.gasguns.info/forum/viewtopic.php?f=65&t=7497), I've noticed the bolt I received (directly ordered with KJW customer service) looks different ! I didn't take picture, I was doing the takedown until 1 in the morning.
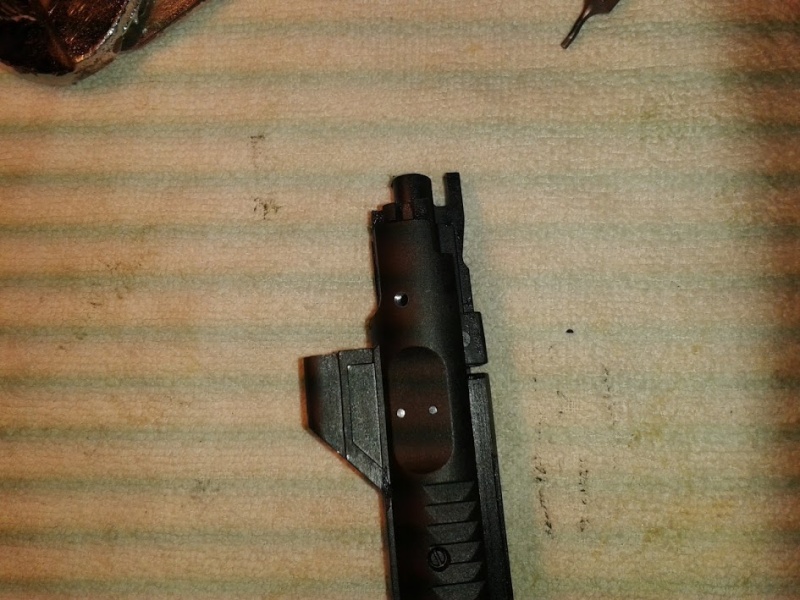
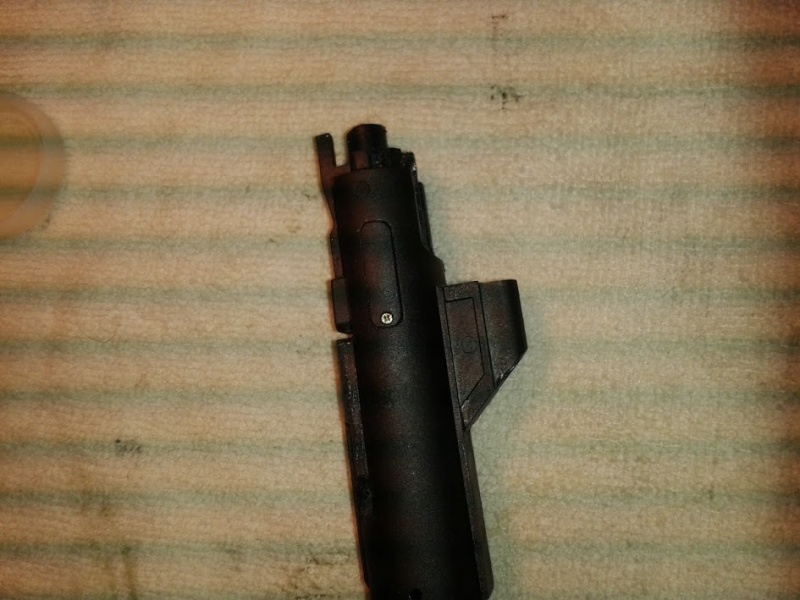
Step 1 : What I can say is that it seems the pin near the rear can't be removed anymore (or I didn't hit enough, but it wouldn't budge !). I decided to see what I can do if skip this part, and it seems it's possible. Then on step 2-3, there's a mini-screw now on the small plastic guide, and another bigger screw on the metal part that blocks the plastic sliding part. About step 4-5, the piston can now be taken without the spring. You just unscrew the pin in step 6 of the link, and you can take out. The spring can be left in it's place inside the bolt. Then step 7 is the same and you can have access to the valve. I hope I didn't break anything (didn't notice anything broken, everything is coming easily), but even the conception looks different from the V2 tutorials I've found... More screws, It's like they've made a V2.1 or V2.2... Weird ! Well, I guess I'll have to make pictures to explain better... Let's look at this pic from KJW's website with what a V2 Bolt looks like normally:  In 1, there's a screw holding the plastic part. In 2, there's this type of screw (http://www.kd-racing.fr/images/sans%20tete%20CHC.JPG), it retains the piston from being removed too far. And in 3, well, I'm not sure it can be taken out anymore (I'll try again tonight) Anyone know about this ? I repeat, I got it directly from KJW's customer service. I wonder if I'm being a test subject for new mods... |
|
|
|

|
|
|
#926 |
|
The pin 3 should definitely come out. Might be hard, but should be removable, that one is retaining the spring into the bolt. #1 shall be removed too, and after removing both you should be able to get the piston assembly free. I busted a spring trying to not take the pin #3 out the first time I messed with my V2 bolt, be careful with that.
|
|
|
|

|
|
|
#927 |
|
audi_bhoy : indeed, it came out, I didn't apply enough strength on it, lol. The rest of the piston came out as expected and nothing posed a problem. I was careful as you told me, and it fires correctly.
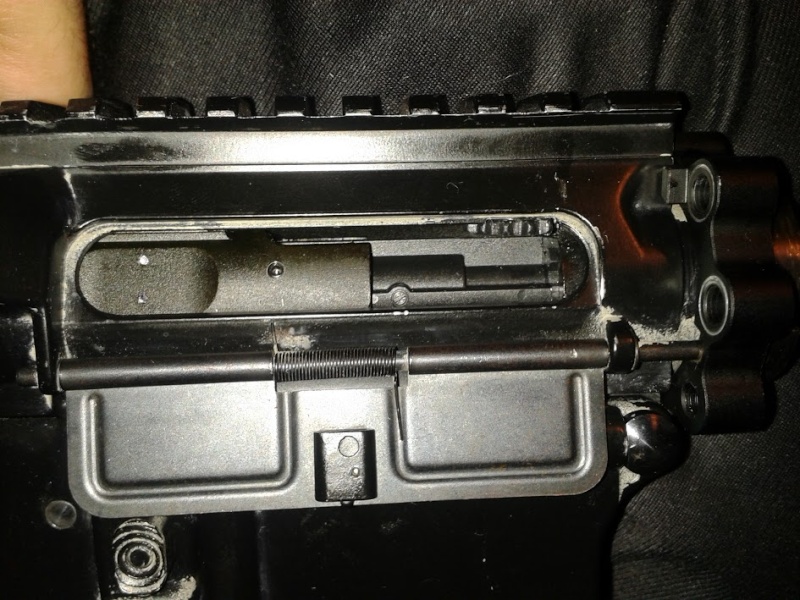
I've made pictures of the new screws :   KJW customer service told me that yes, they've added those because there was some cases where people told them platic guide would "jump out". As for the hexagonal screw, it just prevents the nozzle from going too far out. Talking nozzle... Did anyone with a V2 notice it staying a little "stuck" for a milliseconde in the hop up unit ? I've made a photo to illustrate (I wasn't firing, just pulled back the bolt a little, but it looks like that)  But the spring in the rear does its work and eventually the nozzle is pulled back into the carrier. Does it mean it's just the plastic that needs a little use-wearing ? Or is something wrong ? I've cleaned the nozzle and the hop up, but it still happens. Dismantled everything, cleaned, and reassembled. |
|
|
|

|
|
|
#928 |
|
My nozzle does the same, and as far as the bolt works flawlessly it doesn't bother me. My guess is that it's very tight in the hop-up unit, mostly the rubber itself retaining the nozzle (which means, good airseal IMO)...
It's nice that they even upgraded/tuned their V2, prooves me that they still want to sell lot's of those M4 in the future and availability of replacement parts as well. |
|
|
|

|
|
|
#929 |
|
OK... More issues and brainmelting... I've taken my M4 for a game and when testing it with the chronograph, it showed... 140 fps... WTH ?! And it would do the whole cycle, the bolt goes back, then engages the next BB as if everything was normal, yet, 140 fps, with Ultrair gaz, and 0.20g. The chronograph was set up correctly, we checked several times.
A friend advised me to check the second nozzle O-ring. It's true I didn't really think of taking a look at it. Said it could be damaged or just dry, and that I should soak it with a little silicon oil so it would get some size and seal better. Damn... That bolt is a headache for me... If that fails too, I'm going back to version 1 ! |
|
|
|

|
|
|
#930 |
|
Jamroz
|
What email do you guys use to contact KJW, I tried emailing them, but the email kept returning to me saying it doesn't work. I need a new valve knocker spring, Part #73
|
|
|

|
  |
|
||||||
| Bookmarks |
| Thread Tools | |
|
|
 |